Why Hire a Professional Design Consultant?

Why Hire a Professional Designer?
- Are you overwhelmed by all of the choices that are available to you?
- Between work, kids, spouses, sports scheduling, volunteering and chores are you just too busy to try and tackle one more thing?
- Have you started to decorate a room/ your home and left it half finished?
- You know you want your room to look like the picture you pulled from the magazine but you don’t know where to begin?
- Is your home an older home that you want to decorate in a manner that reflects it’s history?
- Have you been busy “collecting” pieces over the years and now you don’t know how to pull it all together?
- Is it time to renovate? Do you want to add a room?
- Are you finding yourself at an impasse on design style with your spouse or significant other?
- Do you think the choices you have made so far are boring? Do you need help just to jazz up what you have already?
- Have you toured one too many Model homes and yet still can’t find that right look?
- Are you interested in items that are labeled “To The Trade Only”?
- Are you tired of the hassle of trying to pull it all together yourself?
- Do you want something unique? Something that reflects your personal style?
- Are all of your local retailers all showing the same things and none of them reflect your tastes?
- Do you want to see some beautiful faux painting throughout your home? Custom Murals?
- Are you tir
 ed of living in chaos and tired of being unorganized in your home?
If you have decided that any of the questions listed above are followed by you saying “Yes” then you need to hire a Professional Design Consultant. You can decide in what capacity you need to utilize their skills. If all you need is someone to come in and consult with you on items you already own, then call and ask what it would be for a 2 or 3 hour Consultation. If you need someone who will simply take over your home project for you, call now. Run don’t walk to the phone. Relieve yourself of the pressure you have placed on yourself. You will be grateful to yourself for having made the decision to trust a Professional Design Consultant.
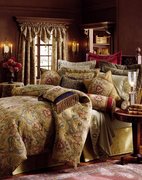
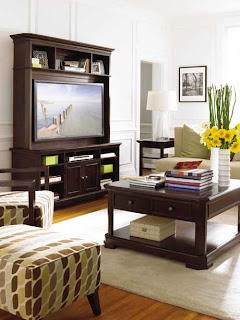
the furniture featured is from Stanley Furniture
www.HomeDesignStudioTH.com to check out Taylor Haskins' up and coming web site.